Dashboard Visualization
Env-dashboard is a post-experimental visualization tool, aims to provide more intuitive environment information, which will guide the design of the algorithm and continually fine-tuning.
Currently, the visualization of senario Container Inventory Management and Citi Bike are supported.
Dependency
Module streamlit and altair should be pre-installed.
Install them with:
pip install streamlit altair
How to Use?
Generate dumped data
The dumped data from environment is the data source of visualization. To generate data, user needs to specify the parameter options when creating Env object. Type of value of this parameter should be Dictionary.
If user does not need to dump data, then there is no need to pass value to this parameter. If the value for key “enable-dump-snapshot” of this parameter is an empty string, data would be dumped to the folder which start the command. If user specifies the value for key “enable-dump-snapshot” of this parameter with the path of a local file folder, data would be dumped to this folder.
opts_have_path = {"enable-dump-snapshot": "./dump_data"}

opts_have_no_path = {"enable-dump-snapshot": ""}

# dump data to folder ./dump_data.
env = Env(scenario="cim", topology="toy.5p_ssddd_l0.0",
      start_tick=0, durations=100, options=opts_have_path)

# dump data to the folder which run the command.
env = Env(scenario="cim", topology="toy.5p_ssddd_l0.0",
      start_tick=0, durations=100, options=opts_have_no_path)
Data would be dumped automatically when the Env object is initialized.
For more details about Environment, please refer to Environment.
Launch Visualization Tool
To start this visualization tool, user need to input command following the format:
maro inspector env --source {source\_folder\_path} --force {true/false}
e.g.
maro inspector env --source_path .\maro\dumper_files --force false
Parameter force refers to regenerate cross-epoch summary data or not, default value is ‘true’. Parameter source_path refers to the path of dumped snapshot files. The expected structure of file folder should be like this:
Folder Structure
./LOCAL_DUMPER_DATA_FOLDER
    epoch_#                         # folders to restore data of each epoch.
        {resource_holder}.csv       # attributes of current epoch.
   manifest.yml                     # basic info like scenario name, number of epoches.
   index_name_mapping file        # relationship between an index and its name of resource holders.
   {resource_holder}_summary.csv    # cross-epoch summary information.
If any file is missed compared with the expected folder structure displayed above, the command line would prompt users with an error message. The visualization tool looks for the free port to launch page in sequence, starting with port 8501. The command line would print out the selected port.
Feature List
Basically, each scenario has 2 parts of visualization: intra-epoch view and inter-epoch view. User could switch between them freely.
Intra-epoch view
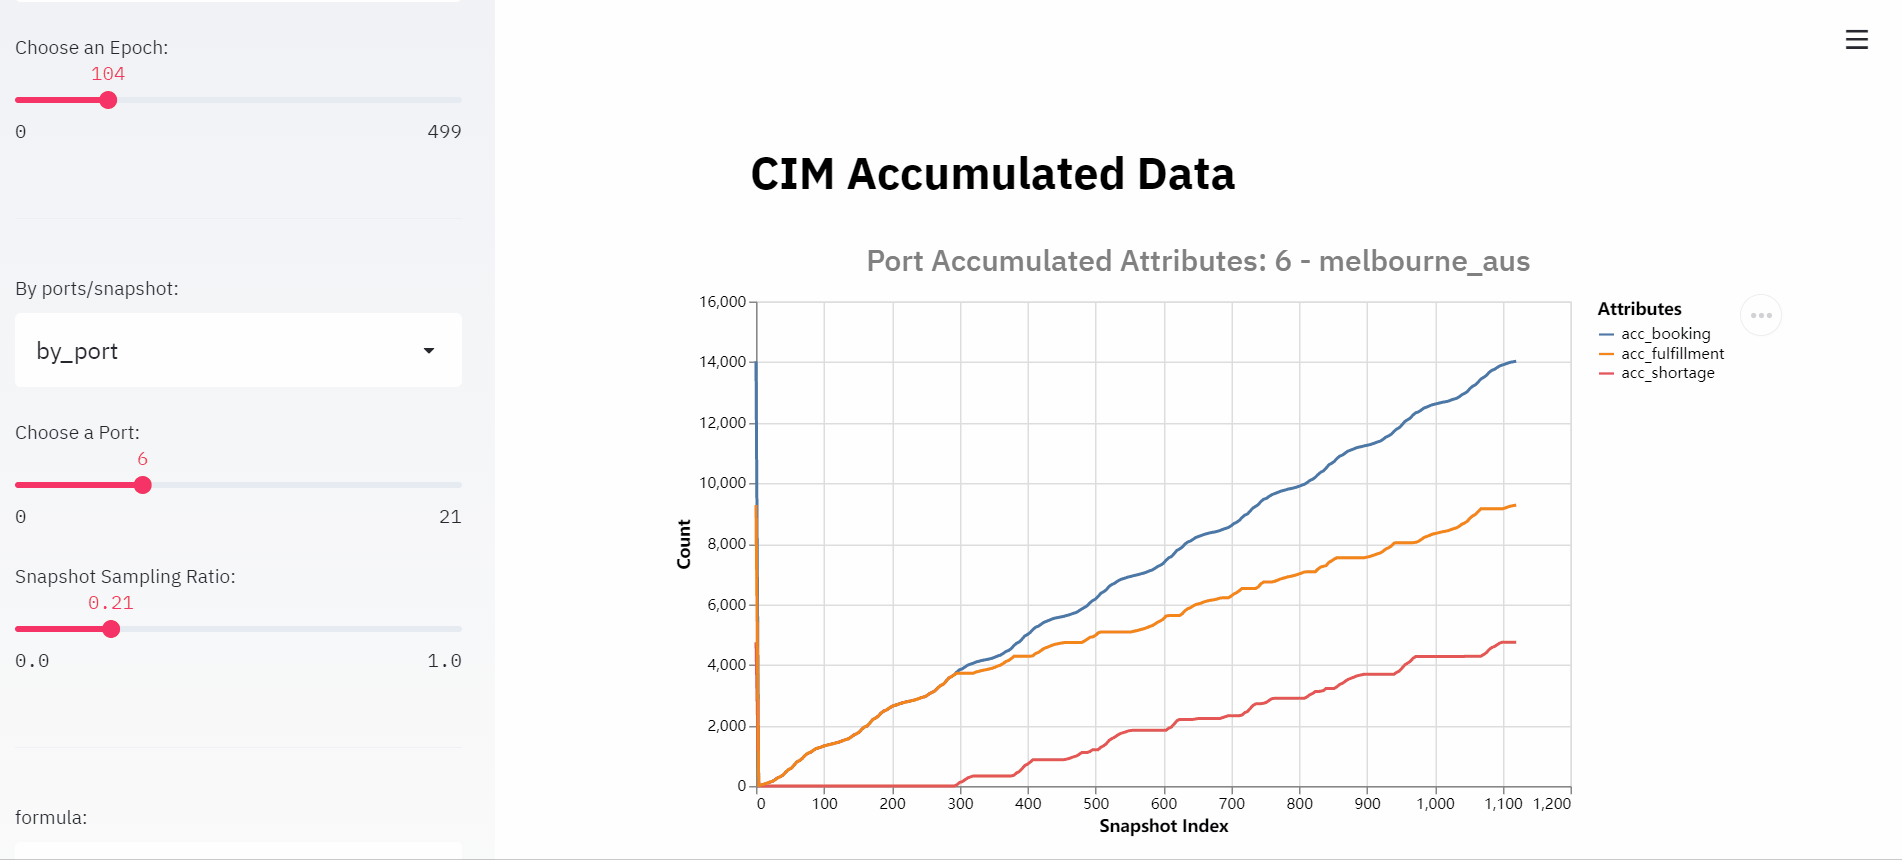
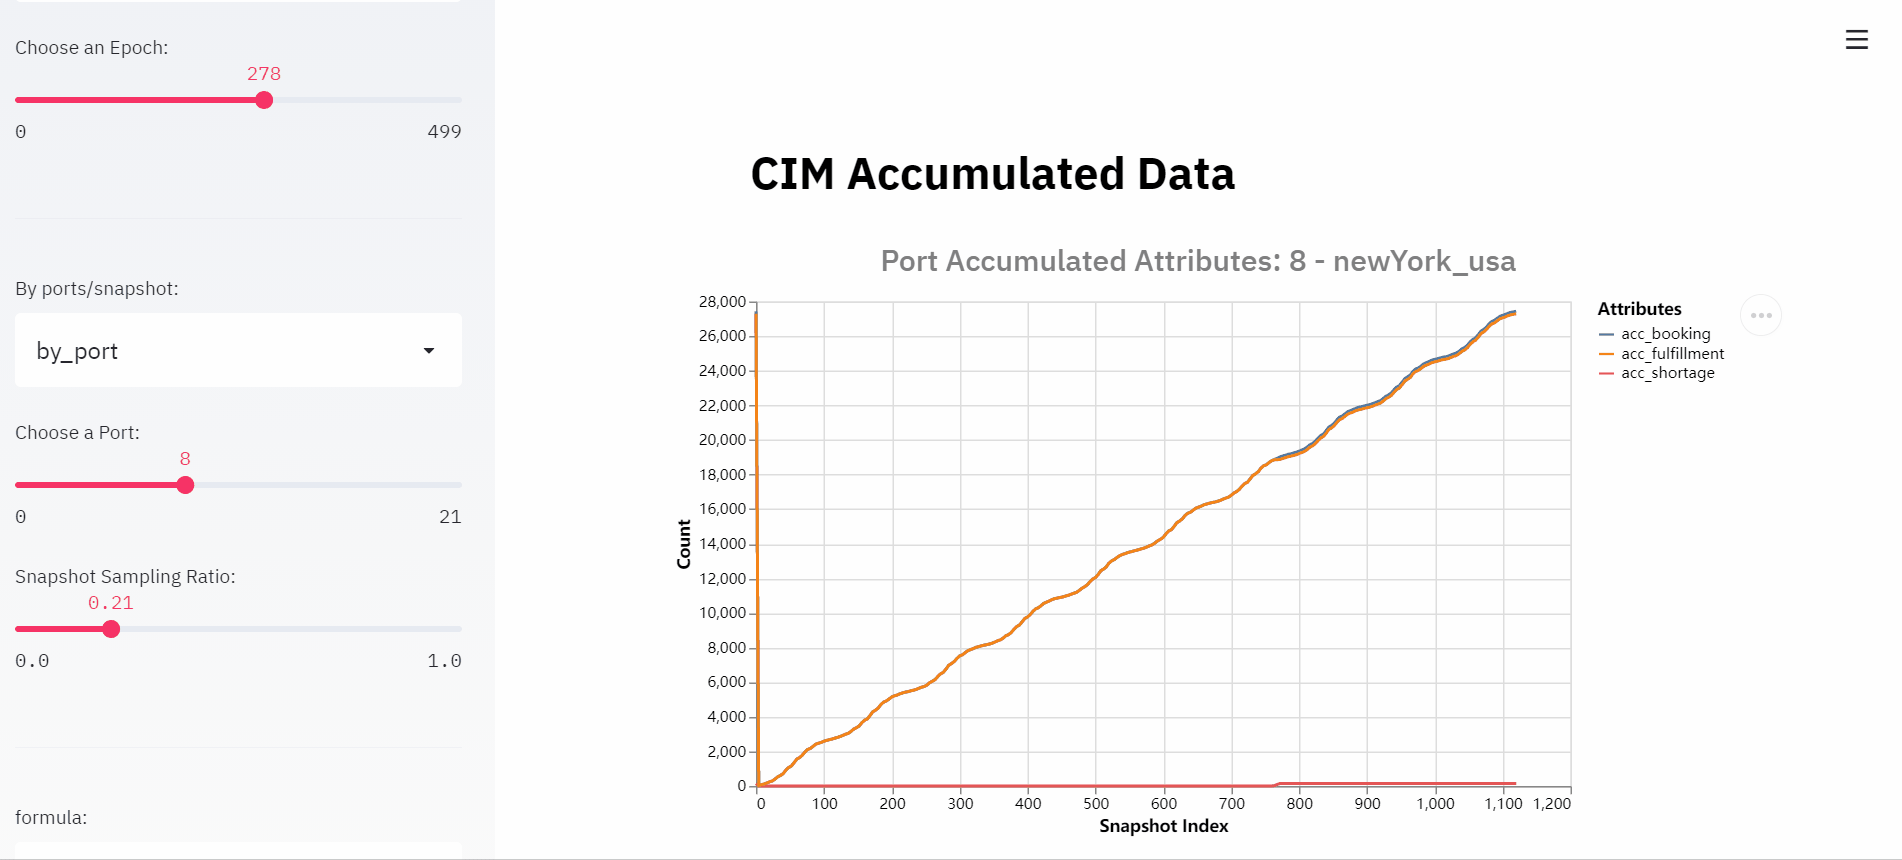
User could view detailed information of selected resource holder or tick under this mode. In order for users to better understand the data, we separate the data into time dimension and space dimension. Users could view both the value of a resource holder’s property over time and the state of all resource holders at a selected time (e.g. tick).
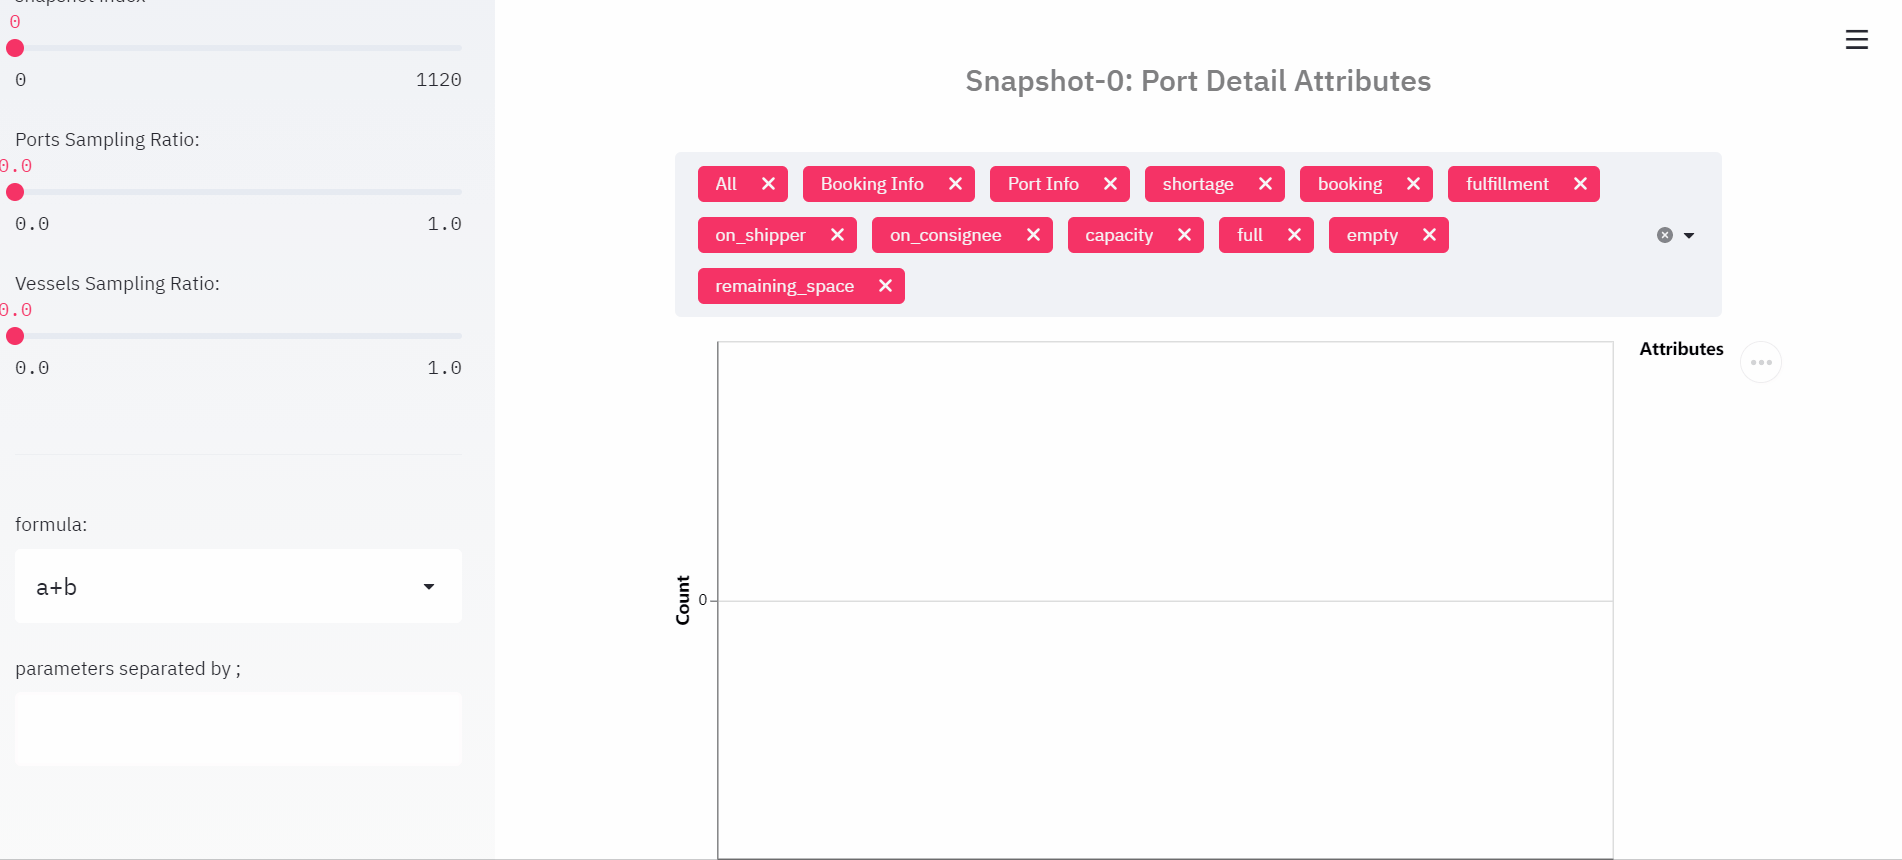
Content of intra-epoch view is varied between senarios. For example, in senario container_inventory_management, the attributes of resource holders are relatively complex. Thus, this view is divided into two parts: Accumulated Attributes and Detail Attributes. The former one includes the heat map of transfer volume, top-k attributes summary, accumulated attributes summary. The latter one includes the chart of two resource holders: Port and Vessel attributes in the scenario container_inventory_management. Detailed introduction please refer to Container Inventory Management Visualization.
The content of senario citi_Bike is much simpler, mainly including top-k attributes summary and the chart of resource holder: Station in senario citi_bike. Detailed introduction please refer to Citi Bike Visualization.
Epoch/Snapshot/Resource Holder Index Selection
To view the details of a resource holder or a tick, user could select the specific index of epoch/snapshot/resource holder by sliding the slider on the left side of page.
Snapshot/Resource Holder Sampling Ratio Selection
To view trends in the data, or to weed out excess information, user could select the sampling ratio of snapshot/resource holder by sliding to change the number of data to be displayed.
Formula Calculation
User could generate their own attributes by using pre-defined formulas. The results of the formula calculation could be reused as the input parameter of formula.
Inter-epoch view
User could view cross-epoch information in this view. In order to make users intuitively observe the results of the iterative algorithm, such as whether the results converge as expected, we extracted important attributes of resource holder from each epoch as a summary of the current epoch and display them centrally in this view. Users are free to choose the interval they care about and the sampling rate within the selected interval. Line chart and bar chart can effectively help users to know the results of the experiment.
Epoch Sampling Ratio Selection
To view trends in the data, or to weed out excess information, user could select the sampling ratio of epoch by sliding to change the number of data to be displayed.
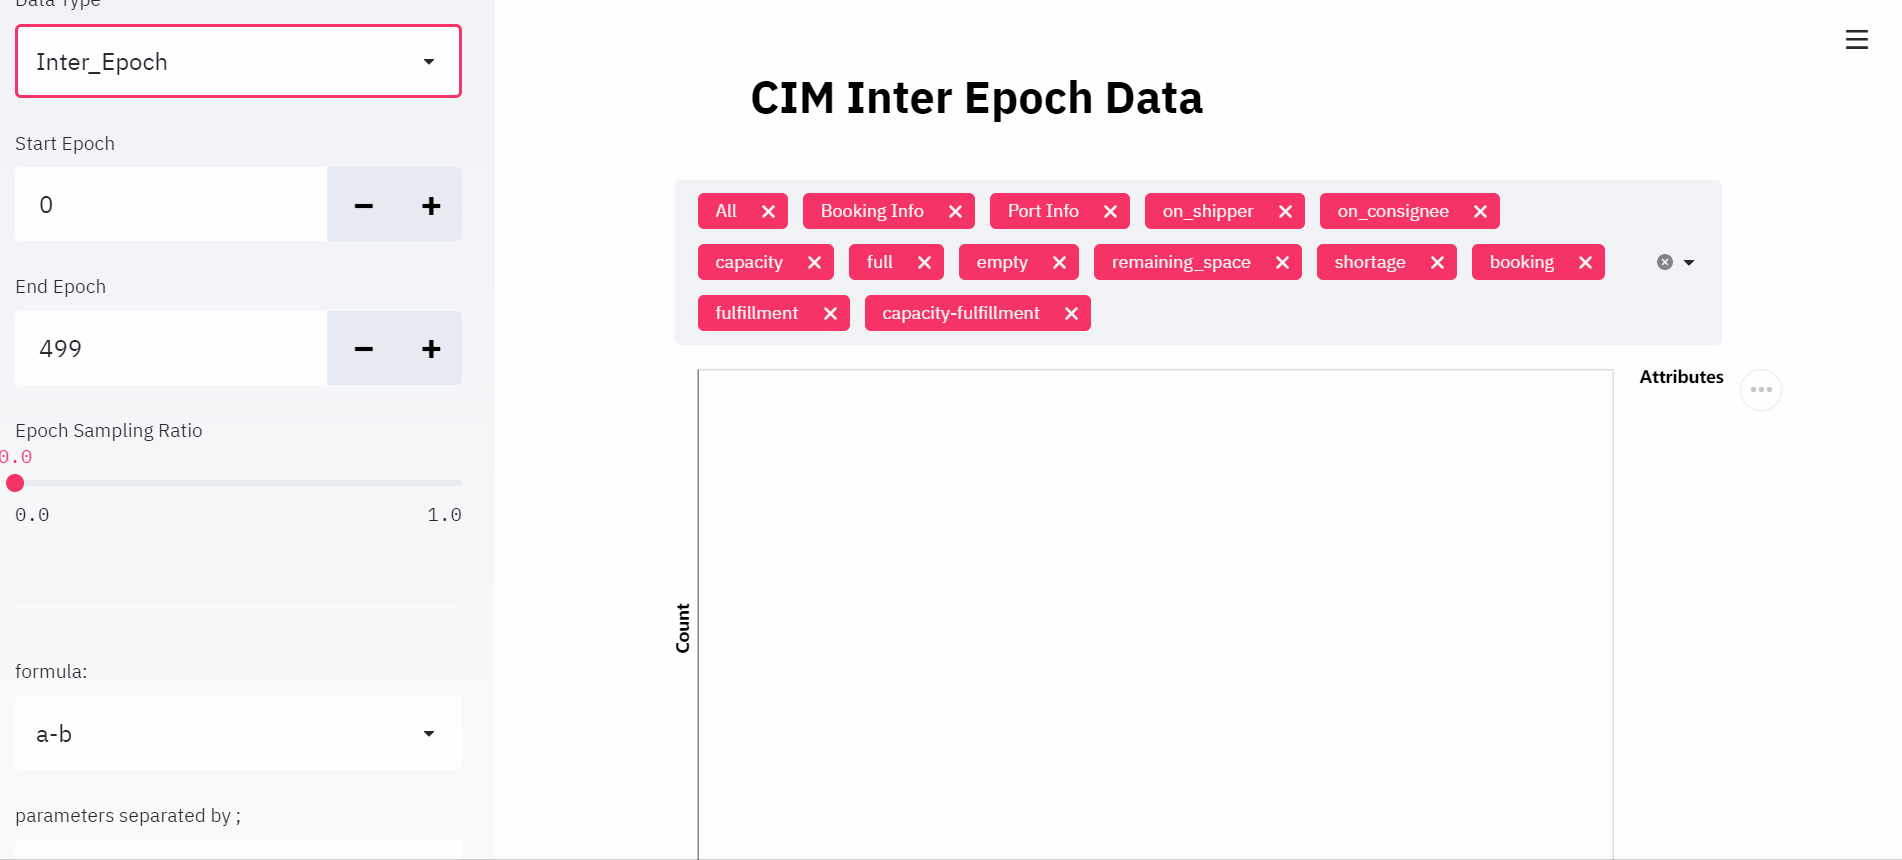
Formula Calculation
Please refer to Formula Calculation.
Examples
Examples of each scenarios please refer to docs of each scenarios: